How to Change or Remove Apple Watch Bands
When it comes to personalizing your Apple Watch, changing the band is one of the easiest and most effective ways to make it your own. With countless variations of colors, materials, and designs available, the possibilities for customization are practically endless. Removing or changing your Apple Watch band is a simple process that allows you to show off your personal style while also accommodating the different activities and occasions in your life.
In this ultimate guide, you'll learn how to remove and change Apple Watch bands to enhance your device's adaptability and express your personality.
Upgrade your Apple Watch with premium BluShark Apple Watch Straps!
Step-by-Step Guide on How to Remove Your Apple Watch Band
Before we dive into the process of changing your Apple Watch bands, let's first understand how to remove the existing ones. To ensure a seamless experience, follow these simple steps:
Step 1: Power Off Your Apple Watch
It's crucial to power down your Apple Watch as a safety precaution before attempting to remove or change the band. Press and hold the side button until the "Power Off" slider appears, then slide it to the right to shut down your device.
Step 2: Place Your Apple Watch on a Clean Surface
Find a clean, flat, and non-abrasive surface where you can safely work on your Apple Watch. A smooth table or desk with a microfiber cloth works well, providing a protective layer for the watch face.
Step 3: Identify the Band Release Buttons
Turn your Apple Watch upside down, and you will notice two small oval buttons on the back of the case. These are the band release buttons, which you'll need to press to detach the band from the case. One button corresponds to the top band, while the other is for the bottom band.
Step 4: Press and Slide to Remove the Band
While pressing the band release button, gently slide the band inwards toward the center of the watch. Hold the button down until the band slides all the way out of its slot. Repeat this process for the other half of the band, and you'll have successfully removed your Apple Watch band.
Choosing the Right Band for Your Style and Activities
Now that you've removed your old band, let's look at the variety of options available for your Apple Watch. It's important to consider the functionality, comfort, and aesthetics for your specific needs. Some popular options include:
Sport Band
The Apple Band collection is made of silicone rubber, providing a durable and sweat-proof option for athletes, fitness enthusiasts, or anyone with an active lifestyle. With multiple color options, you can customize your look while enjoying breathable comfort during intense workouts or outdoor adventures.
Leather Band

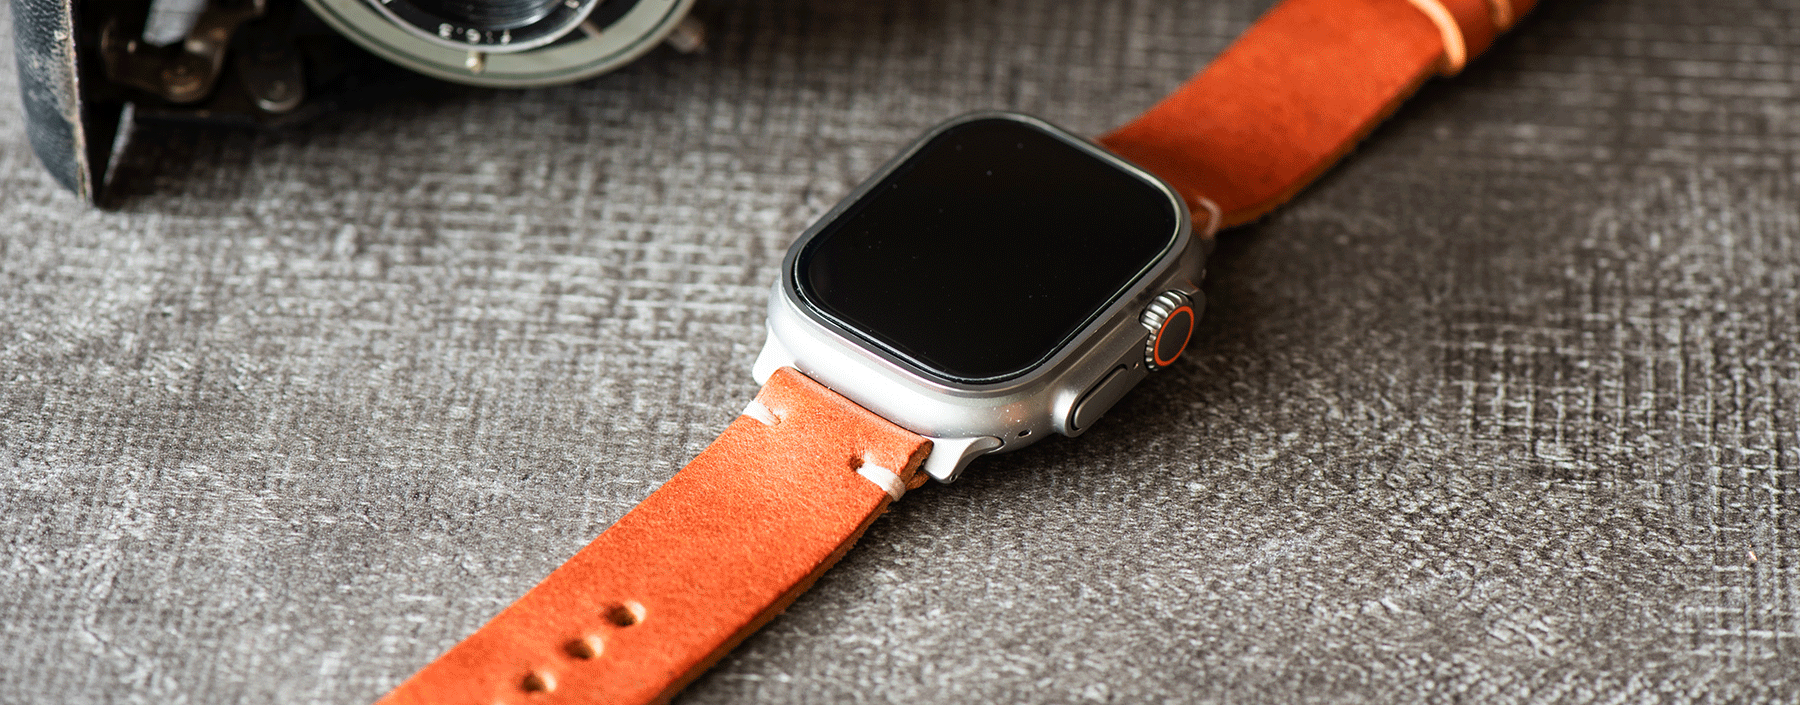
As a classic and timeless choice, Apple Watch Leather Bands exude sophistication and elegance. Ideal for professional events, networking functions, or fancy dinners, leather bands provide a stylish and sleek appearance without compromising on comfort. Choose from a variety of colors, textures, and patterns to make a statement with your Apple Watch.
Shop Apple Watch Leather Bands
Stainless Steel Band
For a more modern and refined look, the Apple Bands offer a versatile and unisex option for a streamlined appearance. From Milanese loops to link bracelets, stainless steel bands are perfect for elevating your style while maintaining comfort and durability.
Nylon Band
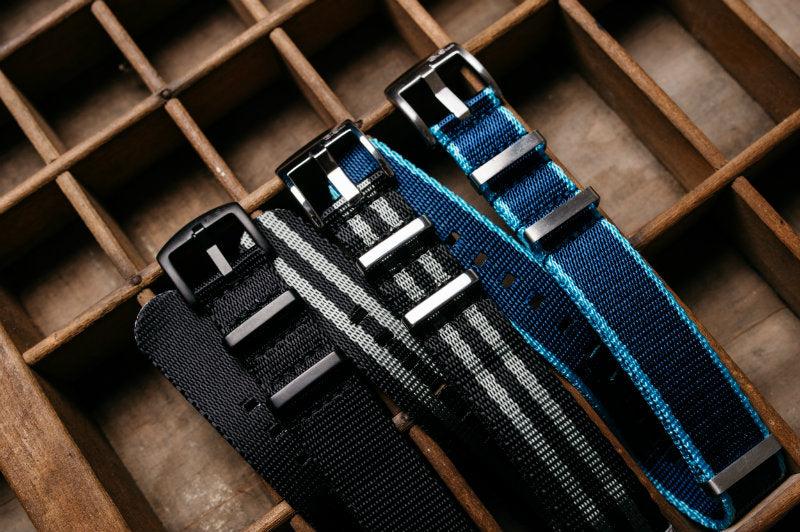
When you need something light and breathable, the Apple Watch AlphaPremier Bands offer a great solution. Designed for comfort during daily activities, nylon bands are an affordable and stylish option for your Apple Watch.
Shop Apple Watch AlphaPremier Nylon Bands
Guidelines for Installing Your New Apple Watch Band
After selecting a suitable band, you'll need to install it onto your Apple Watch. Follow these easy steps for a seamless band replacement experience:
Step 1: Determine the Proper Band Orientation
Ensure you have the correct orientation for your new band. The side with the metal connector should always face the watch's digital crown, ensuring a proper fit.
Step 2: Slide in the New Band
Align the metal connector with the corresponding slot on the watch case. Gently slide the band into the slot until you feel a click. This signifies that the band has locked into place. Repeat this process for the second half of the band.
Step 3: Confirm Secure Installation
Once both sides of the band are installed, inspect it carefully to ensure proper attachment. Try pulling on the band to check whether it's securely locked in place. After confirming, it's safe to wear your Apple Watch.
Caring for Your Apple Watch Bands
To keep your new band in excellent condition, follow these care tips:
- Always follow the manufacturer's guidelines for maintenance and cleaning.
- Avoid exposing your band to chemicals like perfumes, cleaning supplies, or solvents.
- Store your bands in a dry and cool environment, away from direct sunlight.
- Allow your bands to air dry after exposure to sweat or water.
Wrap-Up
Changing your Apple Watch band is an easy and effective way to personalize your device while accommodating various activities and occasions. With a variety of band options available, you can express your style and enhance your Apple Watch's adaptability. Follow our guide to safely remove and install new bands and make the most out of this versatile and functional wearable accessory. And if you are looking for new and incredible Apple Watch straps, check out what we offer at BluShark!


Thank for all the information. I’m old and I was even able to change mine
Yes, it’s super simple and easy to do, Julia. Thank you for reading and let us know if you have any questions. :)
You’re very much welcome, Lisa. Thank you for reading and please don’t hesitate to reach out to us if you have any specific questions/concerns about our products. Cheers!
Who knew how simple this was. Certainly not me!
Thank you. Notes very clear to follow.
Leave a comment